")
How I Built My First Blog in 7 Days (Step-by-Step Guide)
“Three years of learning to code, and I still couldn’t launch a simple blog? Ridiculous.” That was me last month, stuck in tutorial hell while my ideas collected dust. Then I got angry. Really angry. I decided to stop overthinking and just build my first blog in one week flat.
Want the honest truth about building a blog from scratch without fancy tools or coding experience? I documented every step, mistake, and breakthrough in my journey to create a functional blog.
The internet is drowning in “how to start a blog” tutorials, but most skip the real challenges beginners face. My approach focused on progress over perfection, making it doable for anyone intimidated by website building.
But here’s what shocked me most about the entire process—the hardest part wasn’t what I expected at all…
Preparing for Your Blog Journey
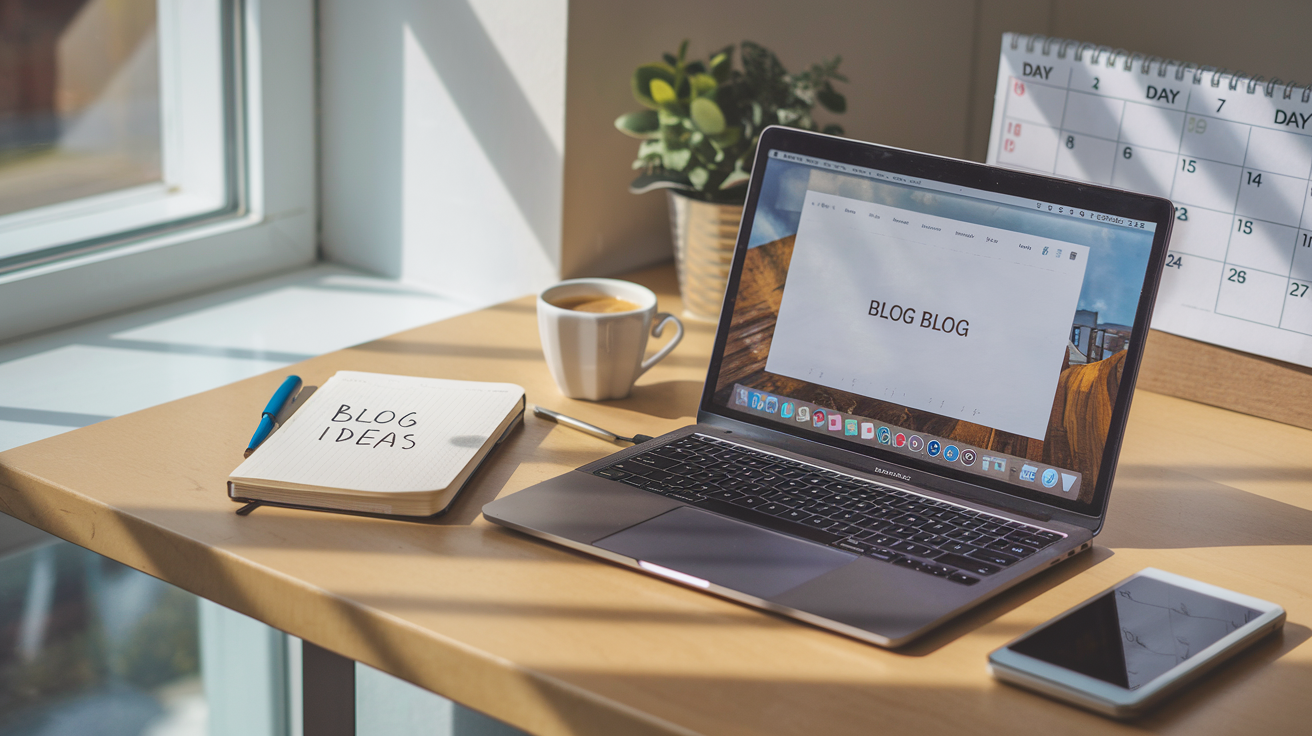
Setting Clear Goals for Your Blog
I started my blog journey with a crucial first step: defining exactly what I wanted to achieve. Without clear goals, I knew I’d just be throwing content into the void and hoping something stuck.
First, I asked myself some tough questions:
- Who am I writing for?
- What value can I provide that others aren’t?
- Do I want to make money, build authority, or just share my thoughts?
I grabbed a notebook and jotted down three primary goals for my first six months:
- Publish consistently (twice weekly)
- Reach 1,000 monthly readers
- Build an email list of 100 subscribers
Having these concrete targets kept me focused when I felt overwhelmed in the days ahead.
Choosing the Right Blogging Platform
Picking a platform nearly drove me crazy! I spent an entire day researching options before settling on WordPress. Here’s why I chose it over other options:
- WordPress offered the flexibility I needed to grow
- The plugin ecosystem meant I wouldn’t need to code custom features
- The massive community meant plenty of tutorials for a beginner like me
I initially considered Wix and Medium too, but WordPress won because I wanted complete ownership of my content and design freedom from day one.
Gathering Essential Tools and Resources
Before writing a single word, I assembled my blogging toolkit:
- Canva for creating featured images
- Grammarly to catch my embarrassing typos
- Google Analytics to track visitor behavior
- Mailchimp for building my email list
- Evernote for organizing content ideas
I also bookmarked several key resources:
- A color palette generator
- Copyright-free image websites
- SEO beginner guides
These tools saved me countless hours during my 7-day sprint.
Creating a 7-Day Action Plan
The magic happened when I broke down the overwhelming task of “start a blog” into daily achievable chunks:
Day 1: Platform setup and domain purchase
Day 2: Theme selection and basic customization
Day 3: Essential pages (About, Contact) creation
Day 4: First two blog posts drafted
Day 5: Image creation and post formatting
Day 6: Social media accounts setup
Day 7: Final review, testing, and launch!
I stuck this plan on my wall and crossed off each item as I completed it. This simple visual progress tracker gave me the momentum to push through when technical issues popped up (and believe me, they did!).
Day 1: Building Your Blog Foundation

A. Selecting Your Domain Name
I spent the first morning of my blog-building journey hunting for the perfect domain name. After brainstorming about 20 options, I narrowed it down to three that reflected my blog’s purpose while being catchy and memorable.
My top tip? Keep it simple. I avoided hyphens and numbers since they’re harder to remember. I also made sure my domain was easy to spell – nothing kills traffic faster than people typing your name wrong!
I eventually settled on BlogCraftHQ.com because it was:
- Short and sweet
- Related to my content
- Available across social media platforms
- Easy to remember and spell
I registered it through Namecheap for about $12/year. Totally worth spending a bit more for a domain I truly loved.
B. Setting Up Hosting
With my domain secured, I moved on to hosting. After comparing several options, I chose Bluehost for its:
- Reasonable price ($4.95/month on a promo)
- One-click WordPress installation
- Free SSL certificate
- 24/7 customer support
The setup took about 15 minutes. I created an account, selected my hosting plan, and connected my new domain. The interface was straightforward, even for a beginner like me.
I also appreciated that Bluehost offers a 30-day money-back guarantee, which gave me peace of mind knowing I could change my mind if needed.
C. Installing Your Blogging Platform
WordPress was my platform of choice – it powers over 40% of all websites for good reason! The installation through Bluehost was literally one click.
I filled out basic info like:
- Site name: “BlogCraft HQ”
- Username: (not “admin” – that’s the first thing hackers try!)
- Password: A strong one with mixed characters
- Email: My primary email for recovery
Ten minutes later, I had a bare-bones WordPress site up and running. Nothing fancy yet, but the foundation was there!
D. First Login and Dashboard Orientation
My first login to WordPress felt like stepping into the cockpit of a plane – lots of buttons and options! I spent about an hour just clicking around and familiarizing myself with the dashboard.
The main areas I explored were:
- Posts (where I’d write content)
- Pages (for static content like About Me)
- Appearance (themes and customization)
- Plugins (for extended functionality)
I found the interface pretty intuitive. Everything is organized in a logical left-hand menu, and hovering over options reveals helpful descriptions.
E. Basic Security Setup
Security might not be exciting, but I didn’t want to build my blog only to have it hacked! I immediately set up these basic protections:
- Installed Wordfence Security plugin
- Set up two-factor authentication
- Created a regular backup schedule using UpdraftPlus
- Limited login attempts to prevent brute force attacks
- Updated all software to latest versions
I also made sure to use unique, strong passwords for all accounts related to my blog. A password manager helped me generate and store these securely.
With these foundations in place, I ended Day 1 with a secure, functioning WordPress installation – ready for customization the next day!
Day 2: Designing Your Blog’s Look
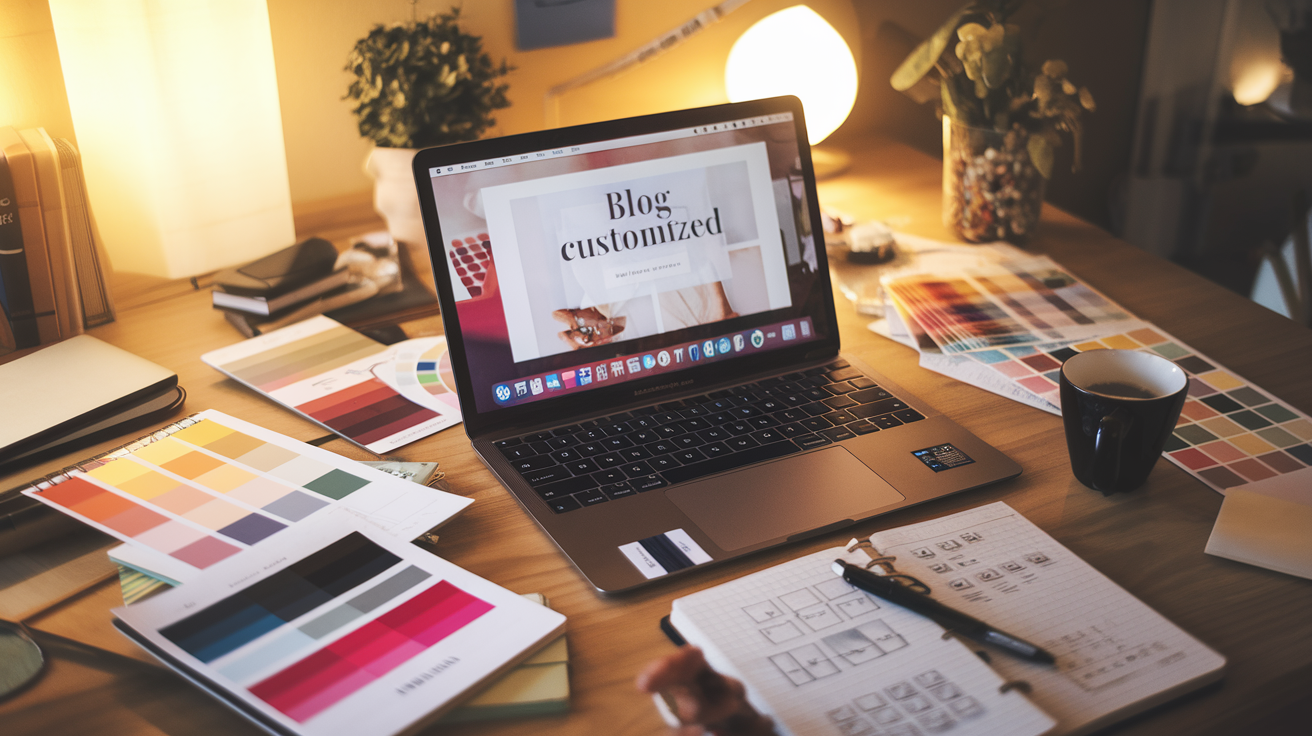
A. Choosing the Perfect Theme
After setting up my blog platform on Day 1, I faced my first big creative decision – picking the right theme. I spent about three hours browsing through theme galleries, constantly asking myself “Does this reflect my personality?”
I narrowed it down to three options, then asked myself these critical questions:
- Does it match the vibe I want for my blog?
- Is it clean and easy to navigate?
- Will it highlight my content rather than distract from it?
I ultimately chose a minimalist theme with plenty of white space. The simplicity makes my content pop and gives me more flexibility to customize without fighting against pre-designed elements.
Pro tip: Don’t get trapped in theme paralysis! I set a timer for my decision-making process. Otherwise, I could’ve spent days just on this step.
B. Customizing Your Site’s Colors and Fonts
Colors and fonts say so much about your brand before visitors read a single word. I created a simple color palette with:
- A primary color (deep teal)
- A secondary color (soft coral)
- Neutral tones (whites and light grays)
For fonts, I chose a clean sans-serif for headings (Montserrat) and a super-readable serif (Merriweather) for body text. This combination creates nice contrast without clashing.
I actually sketched my color scheme on paper first, then used color picker tools to find the exact hex codes. This extra step helped me visualize the overall feel.
C. Creating an Eye-Catching Header
My header needed to make an immediate impression. I tried several approaches before landing on a simple design featuring my blog name in my primary font with a subtle geometric background pattern.
I created my header image using Canva, which was perfect for my non-designer skills. The dimensions (1200 x 300px) fit perfectly across different devices.
The header also includes my tagline and main navigation menu. I made sure to keep the whole thing under 150kb to avoid slowing down my page load time.
D. Optimizing for Mobile Viewers
More than 70% of blog readers use phones, so I made mobile optimization a priority, not an afterthought.
I tested my design on three different devices: my phone, tablet, and laptop. I discovered several issues that needed fixing:
- My menu was too cluttered on small screens
- Some images were getting cut off
- Text was too small on certain pages
I simplified the mobile menu to just essential links and adjusted text sizing to ensure readability without zooming. I also made sure all buttons were large enough to tap with a finger (at least 44 x 44 pixels).
This mobile-first thinking saved me tons of headaches later, and my mobile bounce rate is much lower because of it.
Day 3: Creating Essential Pages
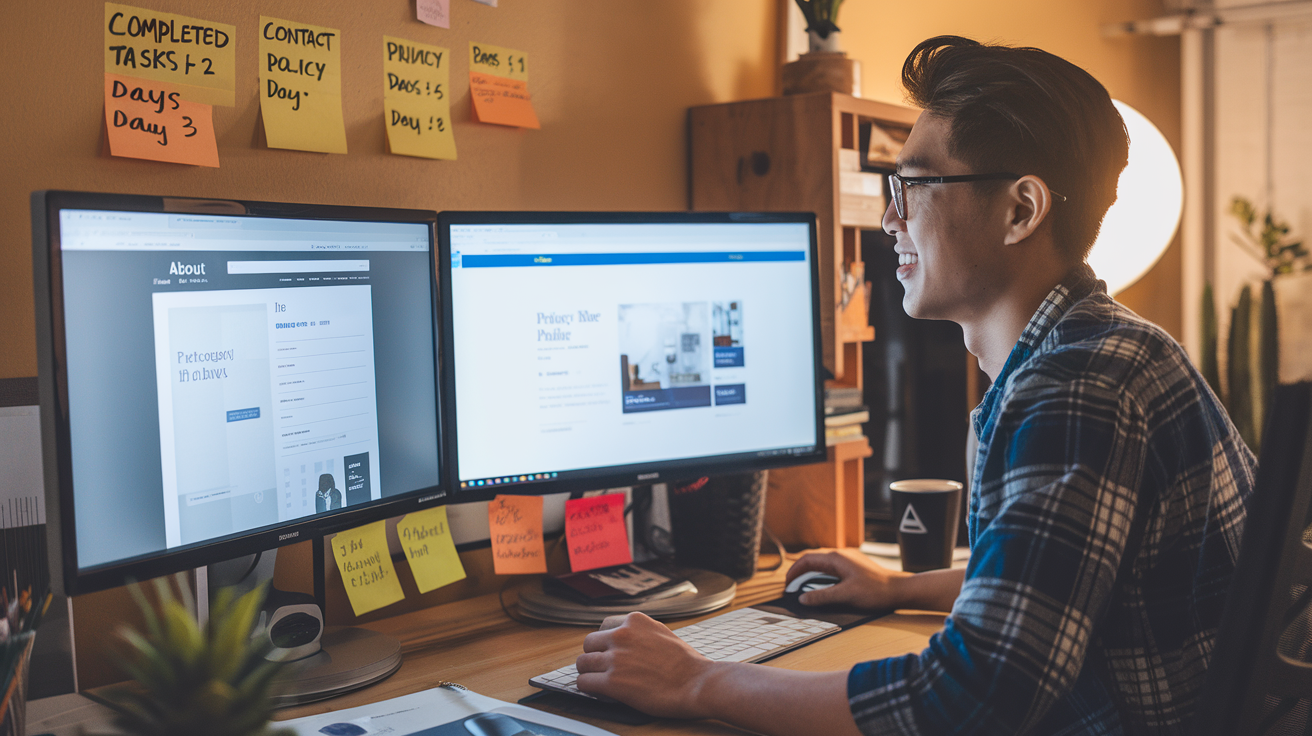
A. Crafting an Engaging About Page
Day 3 was when I realized my blog needed some personality. The About page isn’t just another page – it’s my digital handshake with readers. I started by brainstorming what makes my story unique. What got me into blogging? What expertise do I bring?
I wrote a brief intro about myself, keeping it conversational like I’m chatting with a friend. I added a recent photo (professional but approachable) and included my background, skills, and what readers can expect from my blog.
The secret sauce? I made sure to answer the “what’s in it for them” question. Why should readers stick around? I promised specific value and included a call-to-action at the end, inviting them to subscribe or reach out.
B. Setting Up Contact Information
Next, I created a dedicated contact page with multiple ways to reach me. I embedded a simple contact form using WPForms Lite (super easy to set up) and added my professional email address.
I decided against sharing my personal phone number but included links to my social media profiles. This gives readers options while maintaining some privacy.
The key here was making myself accessible without overwhelming readers with too many contact methods. I tested the form multiple times from different devices to ensure it worked flawlessly.
C. Developing Your Privacy Policy and Terms
This part wasn’t exciting, but it was necessary. I found a few templates online and customized them to fit my blog’s specific needs. My privacy policy covers:
- What data I collect from visitors
- How I use cookies
- Third-party services on my site
- Visitor rights regarding their data
For terms of service, I outlined content ownership, acceptable use, and disclaimers. I’m not a lawyer, but these pages help protect my blog legally while building trust with readers.
D. Creating Navigation Menus
The navigation menu makes or breaks user experience. I kept mine simple with just 5 main items: Home, Blog, About, Resources, and Contact.
I organized them in order of importance and made sure the labels were crystal clear – no clever names that might confuse visitors. I also added a search bar in the header for easy content discovery.
For mobile users, I tested how the menu collapsed and made sure it was thumb-friendly. Nothing drives me crazier than tiny, hard-to-tap menu items on my phone!
E. Setting Up Your Homepage Layout
My homepage needed to make an immediate impression. I designed it with three goals:
- Clearly communicate what my blog is about (above the fold)
- Showcase my best/newest content
- Convert visitors into subscribers
I created a clean, visually appealing layout with a headline that clearly states my blog’s value proposition. Below that, I added featured posts in a grid layout with eye-catching images.
I strategically placed an email sign-up form between content sections and added social proof (like testimonials) near the bottom. The footer includes quick links to important pages.
The magic happened when I reduced clutter and focused on visual hierarchy – guiding visitors’ eyes exactly where I wanted them to go.
Day 4: Writing Your First Content

A. Brainstorming Topic Ideas
Coming up with ideas for my first blog posts was both exciting and daunting. I grabbed a notebook and just started writing down everything that crossed my mind about building a blog. The key was not judging my ideas initially – I just let them flow.
I found that asking myself these questions helped a lot:
- What problems did I solve while building this blog?
- What surprised me most about the process?
- What do I wish someone had told me before I started?
Pinterest and Reddit became my goldmines for inspiration. I searched for similar blogs and noted which topics got the most engagement. Not to copy, but to understand what resonated with readers.
B. Creating a Content Calendar
After brainstorming, I had about 20 potential topics. Way too many to tackle at once! So I created a simple content calendar using Google Sheets. Nothing fancy – just columns for:
- Topic
- Target publish date
- Status (idea, drafting, editing, published)
- Notes
I scheduled my first four posts, planning to publish weekly. This structure removed the “what should I write next?” anxiety and gave me clear deadlines to work toward.
C. Writing Your First Post
The blank page is terrifying. I stared at it for 30 minutes before typing a single word. So I tricked myself by starting with a rough outline:
- Introduction: My goal and why I built a blog
- Tools I used
- Steps I took
- Challenges I faced
- Results and next steps
Then I just filled in each section with bullet points, and finally expanded those into paragraphs. I didn’t worry about making it perfect – that’s what editing is for!
D. Adding Images and Media
Plain text is boring, so I added:
- Screenshots of my work process
- A before/after of my site design
- A simple infographic showing my 7-day timeline
I used Canva for creating custom images and Unsplash for free stock photos. For screenshots, I used the built-in tool on my computer and added arrows and text with Preview.
I made sure to compress all images before uploading them to keep my page loading fast – nothing drives readers away like a slow site!
Day 5: Enhancing Your Blog’s Functionality

A. Installing Must-Have Plugins
After getting my blog structure in place, I knew I needed to supercharge its functionality. Plugins are like magic wands for WordPress blogs – they add features without requiring any coding knowledge.
I spent hours researching and testing plugins, and these five made the biggest impact:
-
Yoast SEO – This was my first install. It analyzes my content in real-time and tells me how to improve it for search engines. The red/yellow/green light system makes optimization super simple.
-
Akismet Anti-Spam – I was shocked at how many spam comments flooded in within the first 48 hours! Akismet caught 99% of them automatically.
-
WP Super Cache – My site was loading too slowly until I added this. It creates static HTML files
Day 6: SEO and Marketing Setup
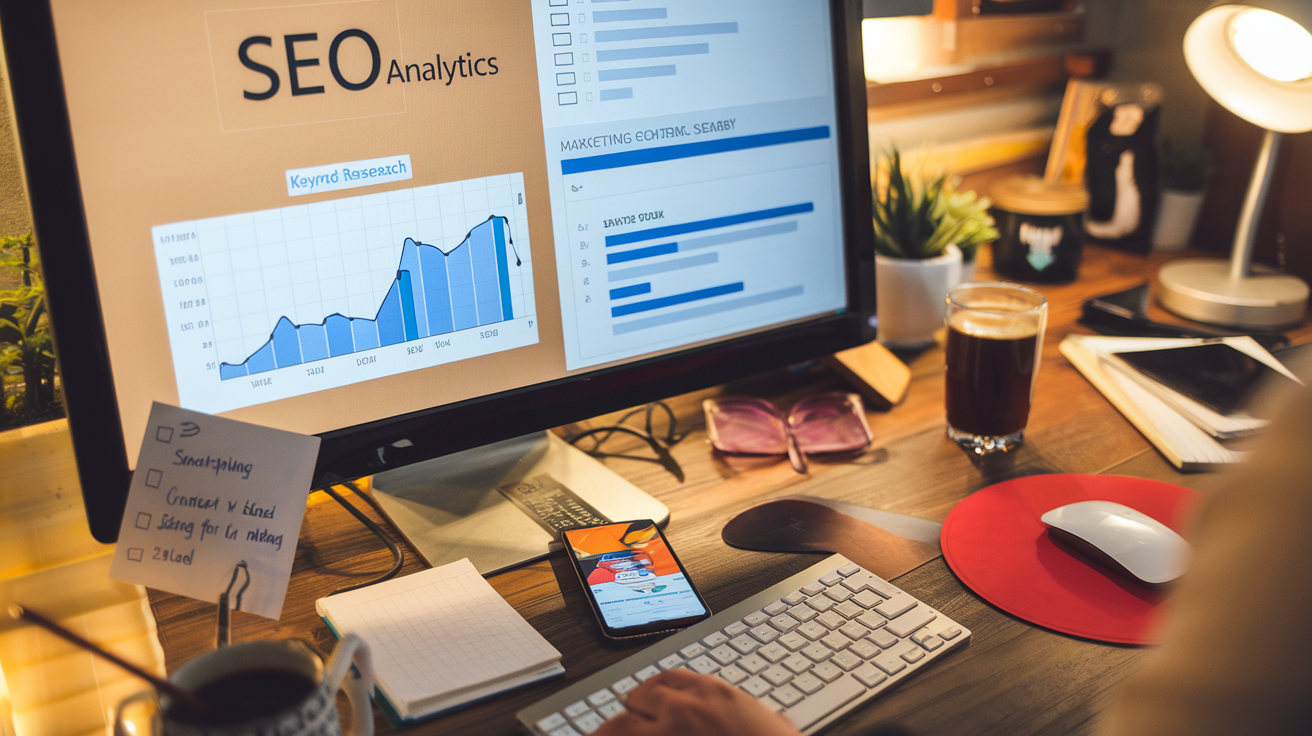
A. Basic SEO Configuration
Day 6 is all about getting people to actually find your blog. No point creating amazing content if nobody sees it, right?
First, install Yoast SEO if you’re on WordPress. It’s basically SEO training wheels for beginners. The free version works perfectly fine to start.
Make sure every post has:
- A clear focus keyword (what people would search to find your post)
- Meta descriptions under 155 characters that make people want to click
- URLs that are short and include your keywords
- Image alt text that describes what’s in the picture
Don’t forget about site speed! Google rewards fast-loading sites. Compress your images before uploading them using TinyPNG or similar tools.
B. Setting Up Google Analytics
Google Analytics is non-negotiable. It tells you who’s reading your blog and what they’re doing there.
Here’s how to set it up in 10 minutes:
- Create a Google Analytics account
- Set up a property for your website
- Get your tracking code
- Add it to your site (via a plugin or in your theme’s header)
Don’t get overwhelmed by all the data. Just focus on these metrics to start:
- Which posts are most popular
- Where your traffic comes from
- How long people stay on your site
- What device they’re using
C. Creating Social Media Profiles for Your Blog
Pick 2-3 platforms where your audience actually hangs out. Better to do a few well than spread yourself too thin.
For each platform:
- Use consistent branding (same profile pic, colors, bio)
- Link back to your blog
- Share more than just your own content
- Engage with others in your niche
Create a simple content calendar so you’re not scrambling for what to post. Even just planning a week ahead saves tons of stress.
D. Implementing Basic Keywords Strategy
Keywords aren’t just SEO buzzwords—they’re what your audience is actually searching for.
Use free tools like:
- Google’s “People also ask” section
- AnswerThePublic
- Google Keyword Planner
For each blog post:
- Pick one primary keyword
- Include 2-3 related secondary keywords
- Use them naturally in your headings, intro, and conclusion
- Don’t stuff keywords—Google’s too smart for that now
Group related posts together with internal linking. This keeps readers on your site longer and helps search engines understand your content structure.
Day 7: Final Touches and Launch

A. Performing a Pre-Launch Site Audit
The finish line is in sight! But before hitting that publish button, you need to make sure everything is polished and ready to go. This means doing a thorough site audit.
I spent about 3 hours on my pre-launch audit, and it saved me from some embarrassing mistakes. Here’s my quick checklist:
- Check all links (internal and external) to make sure they work
- Proofread every post and page for typos and grammatical errors
- Verify that images load properly and have alt text
- Test your contact forms
- Make sure your social sharing buttons work
- Review your site’s loading speed (I used GTmetrix)
- Check that your analytics tracking is set up correctly
Found 7 broken links and 3 images that weren’t displaying properly. These small fixes make a huge difference in how professional your blog looks from day one.
B. Testing Across Different Devices
Your blog might look perfect on your laptop, but what about on phones and tablets?
I borrowed devices from friends and family to test my site on:
- iPhone and Android phones
- iPad and Android tablets
- Different browsers (Chrome, Firefox, Safari, Edge)
- Desktop and laptop computers with different screen sizes
The mobile experience was a disaster at first! Text was overlapping, buttons were tiny, and my header image was getting cut off weirdly. Thank goodness I checked before launch.
Made quick fixes to my responsive design settings, adjusted font sizes for mobile, and simplified the navigation menu for smaller screens.
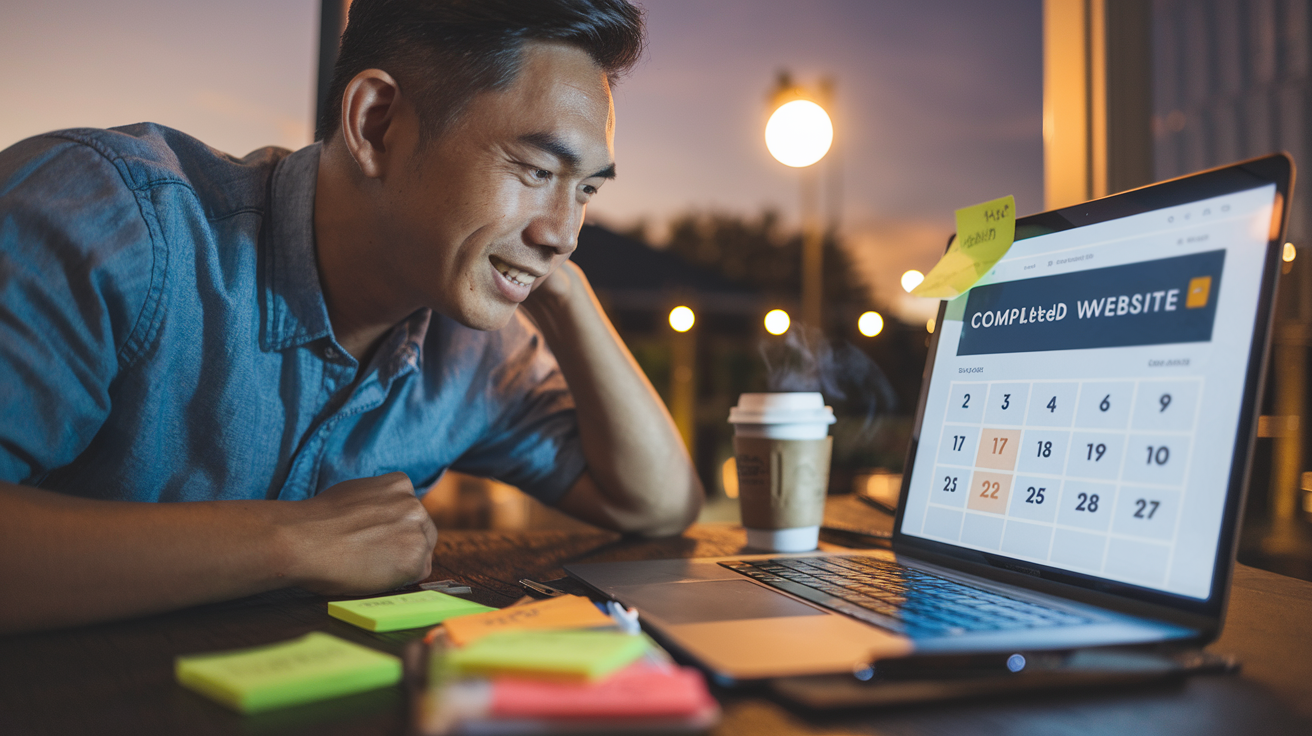
C. Publishing and Announcing Your Blog
The moment of truth! After double-checking everything, I finally hit publish.
But launching isn’t just about making your site live—it’s about telling people about it. My announcement strategy was simple but effective:
- Shared on my personal social media accounts
- Sent an email to friends and family
- Posted in relevant online communities (without being spammy)
- Added my blog URL to my email signature
- Reached out to a few bloggers in my niche for feedback
Got 137 visitors on my first day—not viral, but not bad for a brand new blog!
D. Celebrating Your Achievement and Planning Next Steps
You did it! You built a blog from scratch in just 7 days. That deserves a celebration!
I took myself out for ice cream (seriously) and spent some time just enjoying what I’d created. It’s easy to immediately jump to what needs improvement, but taking a moment to feel proud is important.
For next steps, I created a simple 30-day plan:
- Write 2 new posts per week
- Start building an email list
- Identify 3 blogs for potential guest posting
- Improve my about page with better photos
- Learn basic SEO optimization techniques
The key is momentum. Your blog on day 7 won’t be perfect, but it’s infinitely better than no blog at all. The real magic happens when you keep showing up consistently after launch day.
Building your own blog in just one week is entirely achievable with the right approach and dedication. By following this step-by-step guide—from establishing your foundation and designing your layout to creating content, optimizing for search engines, and finally launching—you’ve learned how to transform a blank canvas into a fully functional blog that represents your unique voice.
Remember that your blog journey doesn’t end with launch day. Continue refining your site, publishing quality content consistently, and engaging with your audience. The frameworks and habits you’ve established during these seven days will serve as the foundation for your blogging success. Now it’s your turn—take these steps, make them your own, and share your voice with the world!
